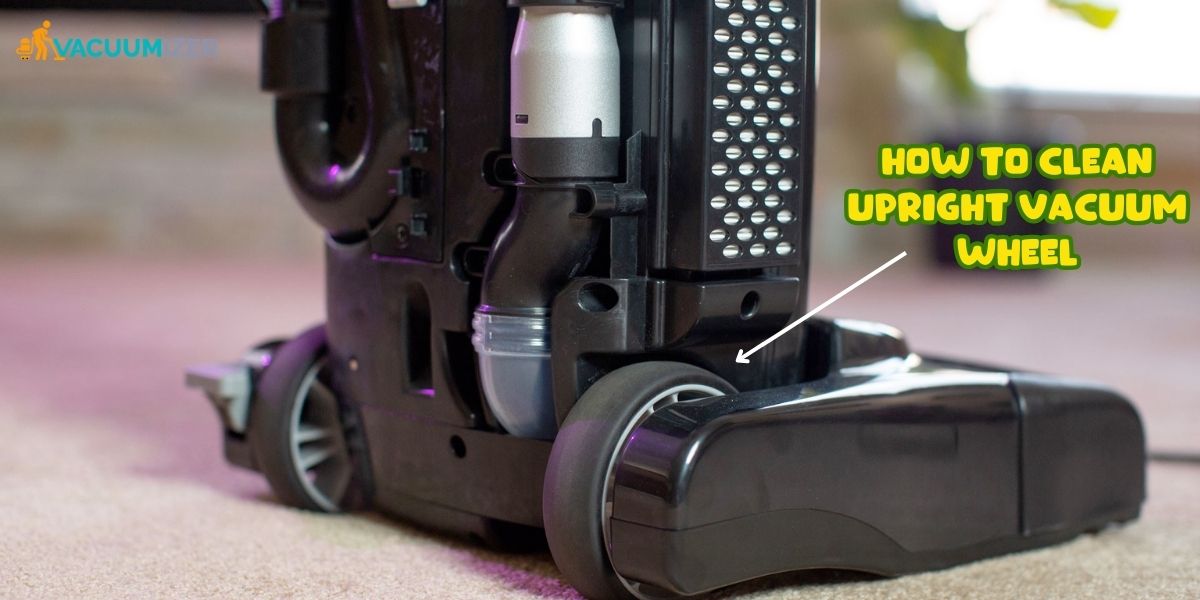
Vacuum cleaners are a crucial part of maintaining a clean and healthy home. These nifty appliances rely on various components to function; one often overlooked element is the wheels. You can move your upright vacuum around with the help of wheels that let it glide across your floors. But, like any other part of your vacuum, they need maintenance cleaning to ensure peak performance.
The wheels on your vacuum can get dirty over time. Do you know how to clean your wheels yourself? Today’s post will tell you how to clean an upright vacuum wheel.
First, you will know the importance of an upright vacuum wheel.
Table of Contents
The Importance of Wheel Maintenance
Before we dive into the nitty-gritty of cleaning your upright vacuum wheels, let’s understand why it’s essential. Neglecting wheel maintenance can lead to several problems, such as;
- Reduced manoeuvrability,
- Uneven Cleaning
- Wheels Not Turning
- Squeaky Wheels
- Inefficient Cleaning
- Premature Wear and Tear
- Decreased suction power and
- Damage to your floors.
Hair, dirt, and other small things can get stuck on the wheels over time, making them less mobile. Regularly cleaning your vacuum will make it easier to use and extend its life.
Then, you will know what tools and materials you will need to clean the vacuum.
Read more: How To Remove Odor From a Vacuum Cleaner?
What Tools and Materials You will need to clean your upright vacuum
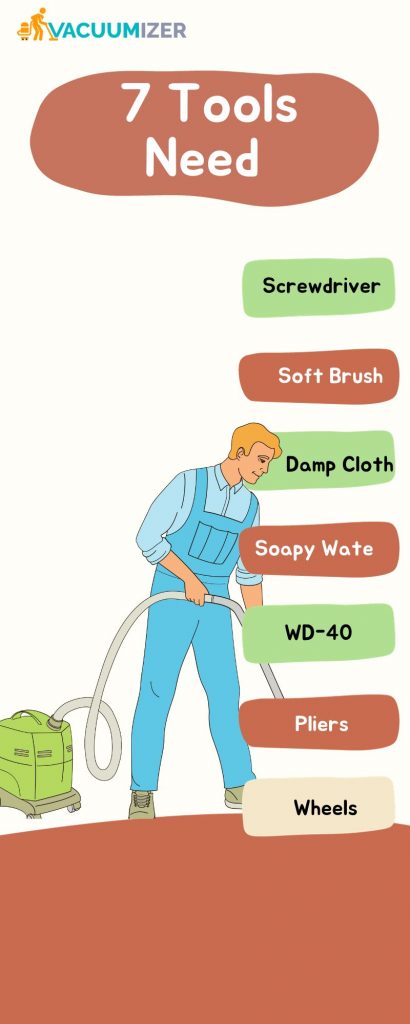
- Screwdriver
- Soft Bristle Brush
- Damp Cloth
- Bucket of Soapy Water
- WD-40
- Pliers
- Replacement Wheels (if needed)
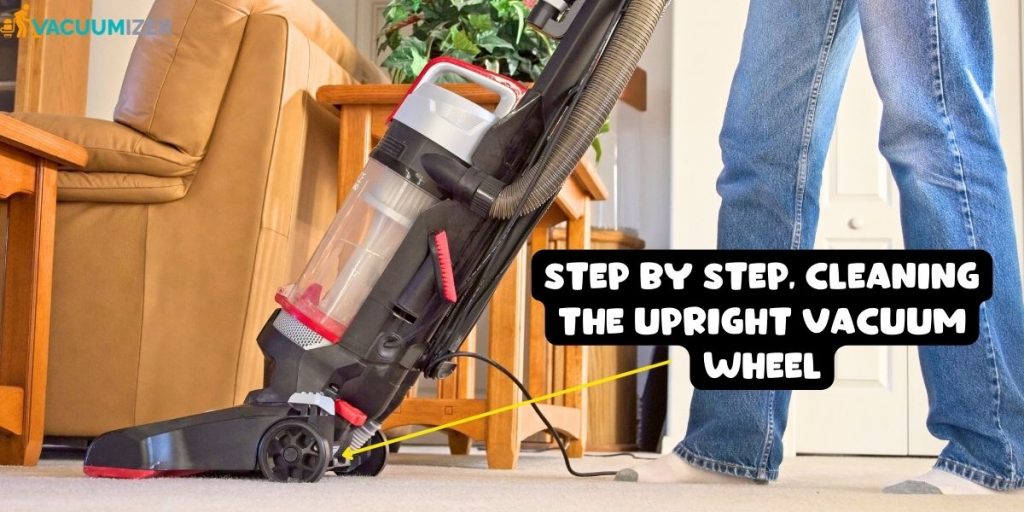
Step by Step – Cleaning the Upright Vacuum Wheel
The following seven steps are essential and will help you a lot in cleaning the wheels of your vacuum.
Step 1: Inspect the Wheels
Before you clean your upright vacuum’s wheels, the first and most important thing you should do is inspect them. Look over each wheel, both the front and back, to see if any obvious dirt or debris stops them from working properly.
This first look is essential to find any trouble spots and make sure the cleaning process works better.
Step 2: Use a Screwdriver to open
To begin this step, you will need a screwdriver. Remove the wheels’ screws carefully and precisely with the screwdriver. Each wheel has several screws to hold it in place. Turn them upside down with a screwdriver to open them. Now place the screws in a container or a safe place nearby. Remember that you will need to reattach these screws, so save them.
Step 3: Use a Soft Bristle Brush for Dirt
At this stage, focus on both the front and rear wheels, as both play an important role in the movement of the vacuum. Using gentle yet thorough strokes, run the brush along the wheel’s surface. Clean each wheel thoroughly to ensure no dirt or debris is left behind.
Step 4: Soapy Water Solution
Ensure that they are completely covered. After letting the wheels soak for a short time, use the gentle brush described above to scrub them softly. The soft brush will help remove any dirt or dust still stuck on the wheels without damaging them. Focus on all sides of the wheels, ensuring you pay attention to any crevices or tight spots where dirt may hide.
Step 5: Reaching Tight Spaces
To reach tight spaces and corners, you can use a cotton swab or a wooden stick with a cloth wrapped around it.
Step 5: Lubricating the Wheel Bearings with WD-40
To guarantee the smooth movement of your upright vacuum’s wheels, applying a small amount of below WD-40 to the wheel bearings is essential. This lubricant does a great job of lowering friction and making the wheels last longer. By carefully adding WD-40, you make a shield that protects the wheels and makes them easier to move. This also stops them from wearing out too quickly.
WD-40: WD-40 is a versatile lubricant and can be used on vacuum wheels. But it’s essential to use it sparingly to avoid any buildup or attracting dust and debris. Apply a small amount to the wheel bearings for smoother movement.
White Lithium Grease: This lubricant is often used for heavy-duty applications and can work well for vacuum wheels. It provides long-lasting lubrication and helps reduce friction.
Silicone Lubricant: Silicone lubricant can be a good choice for vacuum wheels. Especially if you want a lubricant that’s less likely to attract dust and dirt, it’s also suitable for plastic and rubber parts.
Note: Remember to follow the manufacturer’s recommendations for the specific lubricant you choose.
Step 6: Checking for Damaged Wheels
Inspect the wheels thoroughly for any signs of damage, such as cracks or deformation. If your wheel is damaged, we recommend replacing it.
Read more: How To Remove Odor From a Vacuum Cleaner?
Step 7: Reassembling Wheels
Reassembling the wheels on your upright vacuum is a crucial step in the maintenance process. Here’s a step-by-step guide on how to properly reassemble the wheels:
Alignment: First, ensure you have the correct wheels for the front and rear positions.
Wheel Axles: Slide the wheels onto their respective wheel axles or shafts. Make sure they fit and align correctly with the axles.
Screws: Carefully reattach them using a screwdriver. Securely tighten them, but not so much that you risk damaging the wheels or axles.
Stability Check: After installation, spin the wheels to ensure they move smoothly and without wobbling. This test confirms that the wheels are properly reassembled.
Final Assembly: Reassemble the other parts of the vacuum that you removed earlier, such as:
- The canister or
- Dust bin
Test the Vacuum: Plug in your vacuum and test it on a small section of flooring to ensure that the reassembled wheels allow it to glide smoothly.
By following these steps for reassembling the wheels, you ensure that your vacuum is ready to use again.
After that, you will know some common questions and answers.
Related post: Are Canister Vacuums Better Than Upright – Best Guide 2023
FAQs on how to clean an upright vacuum wheel
Why is my upright vacuum Wheels Not Turning
There are a few possible reasons why your upright vacuum wheels are not turning:
- Hair and debris
- Dirt and grime
- A broken or damaged wheel
- A problem with the drive belt
- A problem with the brush roll
Why is my why is my Squeaky Wheels
If your wheels squeak when in use, it may be due to a lack of lubrication. Apply WD-40 to the wheel bearings to eliminate the noise.
Finally, we are going to the conclusion.
Read more: Are Stick Vacuums Better Than Upright – Best Guide of 20th Century
Final Word
Cleaning the wheels of an upright vacuum is a simple yet crucial maintenance task. Regularly removing debris and hair from the wheels ensures smooth and efficient movement. As well as prolonging the life of your vacuum and keeping your floors clean. With just a few minutes of attention, you can help your vacuum perform at its best.
Read more: Why Is My Vacuum So Loud – Simple Tricks 2023

Hello, I’m Ethan Mitchell. I studied Geography and Environmental Management at the University of Florida. I want to share with you the light of my learning and the beautiful benefits of research. When it comes to cleanliness, the home comes first, so I started my journey out of a personal interest in keeping a house clean.