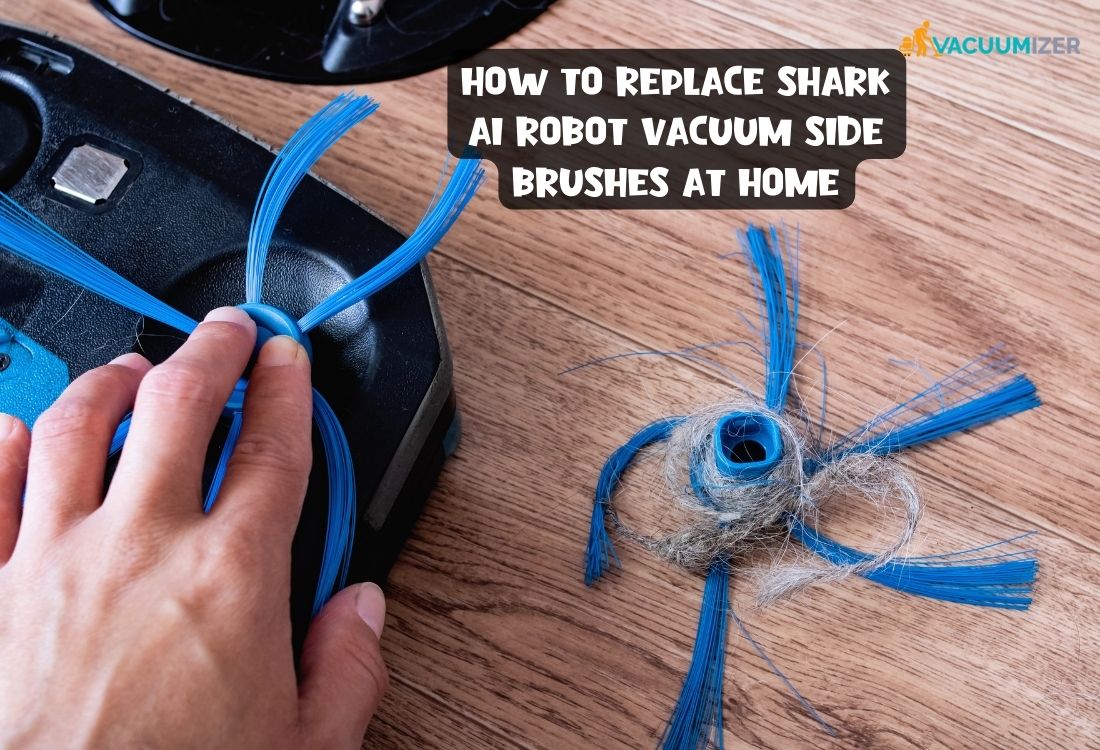
In today’s fast-paced world, cutting-edge technology has made our lives so much easier. The Shark AI Robot is one of these innovations. It is a smart vacuum cleaner that keeps your house clean without you having to do much. But, like any trustworthy friend, it needs some care to work at its best. One important part of its care schedule is to change its side brushes. Do you know how to Replace Shark AI Robot vacuum Side Brushes?
If you don’t know, this post is for you. In this post, I will tell you how to Replace Shark AI Robot vacuum Side Brushes without hassle-free. So, let’s start!
First, you will know the importance of Shark Robot AI vacuum side brushes.
Table of Contents
What is the importance of Shark robot AI vacuum side brushes?
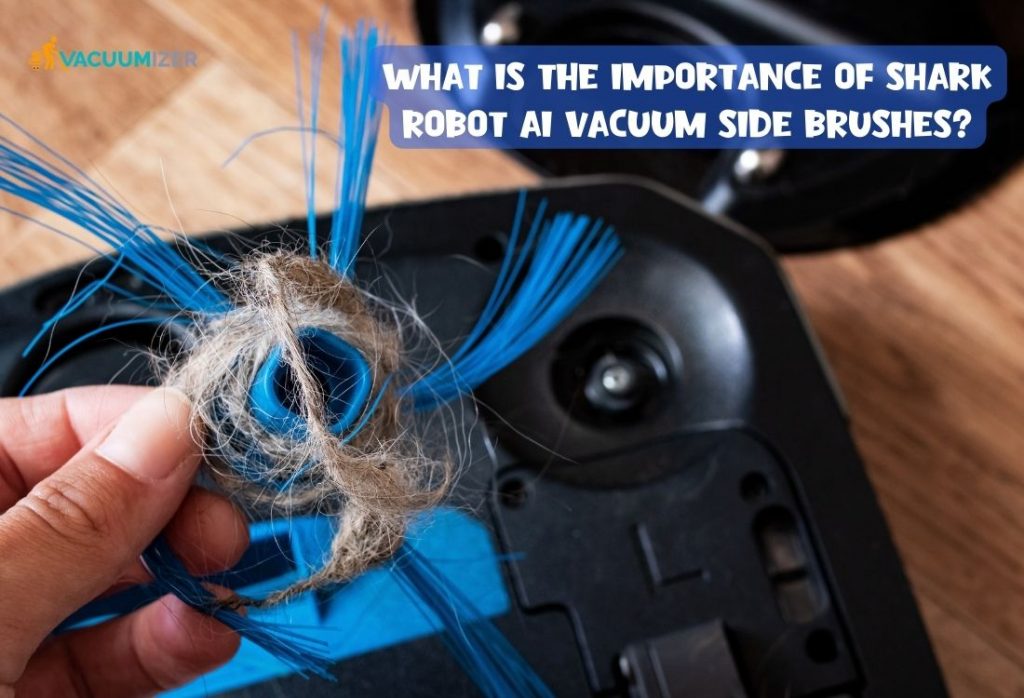
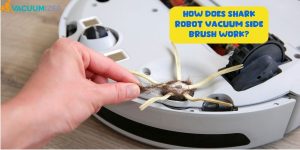
You know, the Shark AI Robot vacuum cleaner can’t work without its side brushes. Actually, they are made to reach into corners and along edges, which are hard for the main vacuum brush to get to. These side brushes help remove dust, dirt, and other waste from these corners, ensuring the cleaning is done well. It’s also important to clean your vacuum filter. But over time, these brushes can wear out or get mixed up with hair and other things, making them less useful.
Next, you will know why you should change the side brush of your shark robot vacuum.
Why Should You Change the Side Brushes of Your Shkark AI Robot Vacuum?
You need to replace the side brushes to keep your Shark AI robot working well for cleaning. When the brushes get old or knotted, they are not able to reach corners, leaving dirt and other things behind. This could make your robot cleaner less effective at cleaning in general. So, replacing them on time is important if you want your Shark AI Robot to keep your home clean and dust-free.
Then, you will know how to replace Shark AI robot side brushes.
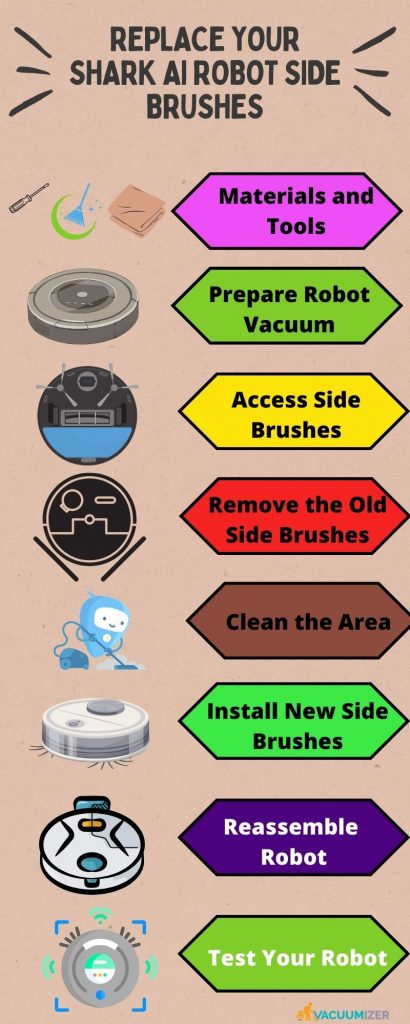
Replace Your Shark Ai Robot Vacuum Side Brushes with 8 steps
Before starting to change or replace, you have to ensure you have all materials and tools, but do you know which are?
Look below:
Prepare 3 Materials and Tools
- First, be sure you have compatible replacement side brushes for your Shark AI Robot. Most of the time, you can find these in a maintenance kit or buy them individually.
- If there are screws keeping the side brushes in place, you may need a screwdriver to take them out.
- Have a clean cloth or paper towel on hand to wipe off any dust or dirt that might get on the work area.
Prepare Your Robot Vacuum
Before beginning any work, ensure that your Shark AI Robot is powered off. This safety measure makes it impossible for the alarm to go off by chance during the replacing process.
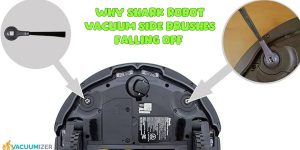
Access the Side Brushes
To get to the side brush compartments, carefully turn your robot cleaner on its side. Depending on your robot type, you may have to remove a panel or cover to get to the brushes.
Remove the Old Side Brushes
If your robot’s design incorporates screws holding the old side brushes in place, use a screwdriver to remove them. Once the screws are out, carefully pull the previous brushes out of their holes.
Clean the Area
Take a moment to clean the area around the side brush compartments thoroughly. To get the best cleaning results, wipe away any dust, dirt, or other debris that may have gathered in these spots.
Install the New Side Brushes
Please insert the new side brushes into their designated sockets. Make sure they are firmly in place so they don’t move around while the device is running.
Reassemble Your Robot
If you had to remove a cover or panel, reattach (set up) it securely to its original position. Verify that everything is properly aligned and tightened.
Test Your Robot
Turn on your Shark AI Robot and start a test cleaning run to ensure the new side brushes work. This step lets you see if the brushes hit the edges and corners well.
By carefully following these eight specific steps, you can safely change the side brushes on your Shark AI Robot. This will make sure it keeps cleaning your house well and well. To keep your robot vacuum running at its best, you need to do regular maintenance, like replacing the brushes.
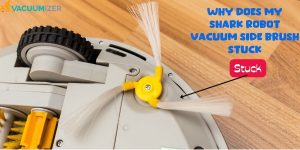
Note: Do you know why is your shark robot vacuum not spinning? Actually, it could be several reasons, so if you want to know, please visit here: Why Is My Shark Robot Side Brush Not Spinning
Next, we’ll look at some typical questions and how to answer them.
FAQs on Replace Shark AI Robot Vacuum Side Brushes
How Often Should I Replace My Shark Ai Robot Vacuum Side Brushes?
The side brushes should be changed every three to six months, based on how often they are used and how much dirt they pick up.
Can I Use Third-Party Side Brushes For My Shark Ai Robot?
Yes, you can use side brushes from a company other than Shark with your Shark AI Robot. But it’s best to use original Shark substitute parts to make sure that everything works well.
Is It Necessary to Turn Off The Shark Ai Robot Before Replacing The Side Brushes?
Yes, powering off and disconnecting the robot from the charging station is crucial to preventing any accidents during the replacement process.
Video on How To Replace Shark AI Robot Vacuum Side Brushes
Finally, we are going to the final say
Conclusion
It’s important to take care of your Shark AI Robot if you want it to keep cleaning your home well. As explained in this guide, replacing the side brushes is a simple task that can make your robot vacuum last much longer and work better. By following these steps and doing regular care, you can make your living area better and healthier.

Hello, I’m Ethan Mitchell. I studied Geography and Environmental Management at the University of Florida. I want to share with you the light of my learning and the beautiful benefits of research. When it comes to cleanliness, the home comes first, so I started my journey out of a personal interest in keeping a house clean.