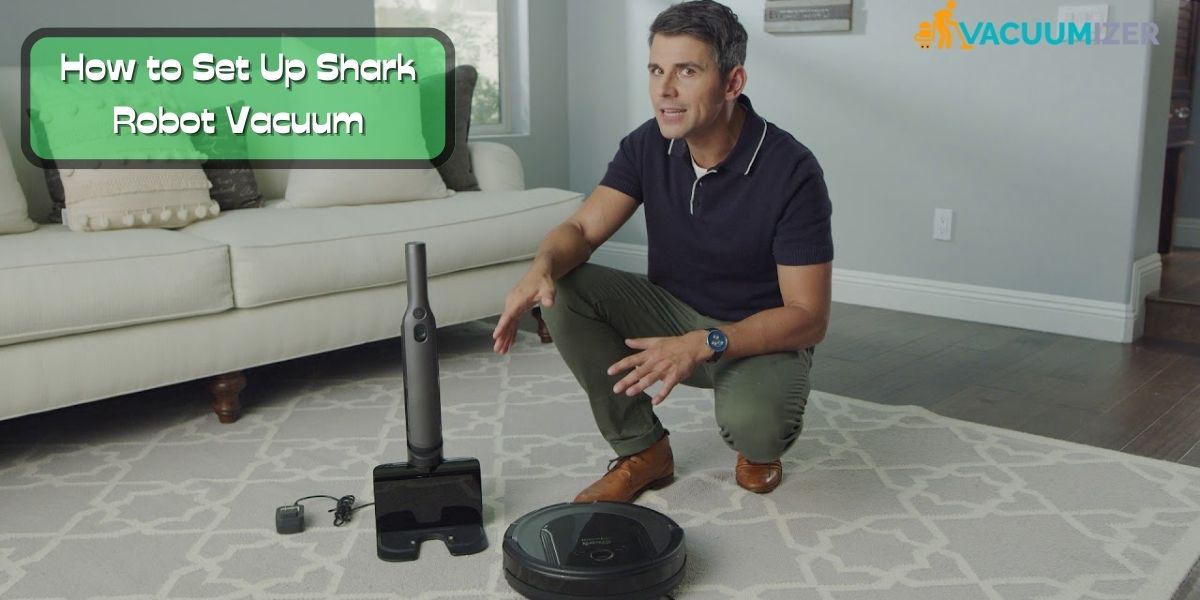
If you’ve recently purchased a Shark robot vacuum, you’re already well on your way to cleaning. But do you know how to set up? Setting up your Shark robot vacuum for the first time can be a little difficult. Don’t worry! From today’s post you won’t have any trouble getting set up.
Tn todays post, we will tell you, how to set up your shark robot vacuum step by step. So, let’s dive in and get started with the setup process!
First, you will know what you will need to prepare for the shark robot vacuum.
Table of Contents
What do you need to set up the Shark Robot Vacuum (preparing ideas)
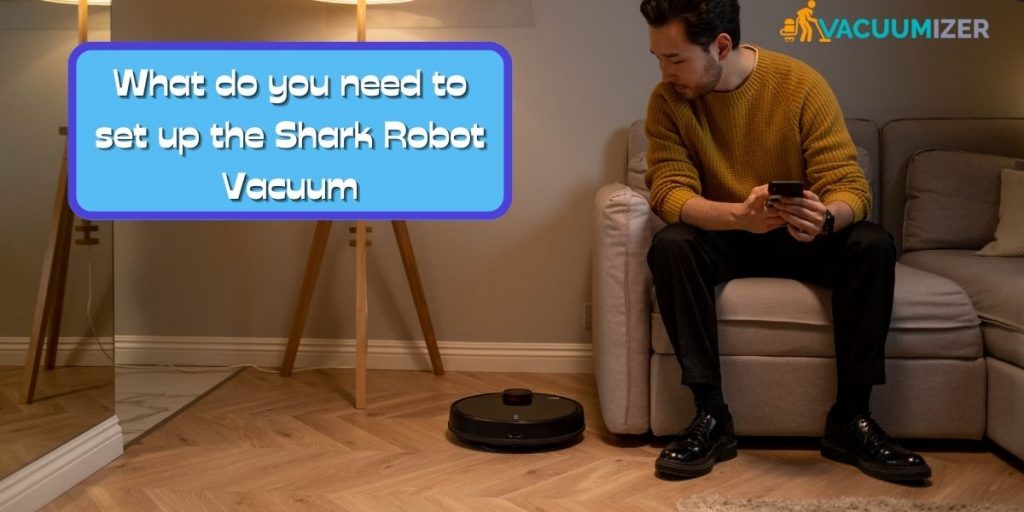
Getting ready to set up your shark robot vacuum is simple if you have the right tools. Start by ensuring you have an ethernet cable to connect your vacuum to the internet. Additionally, make sure you have your wi-fi network information handy.
With these two things in place, you’ll be ready to proceed with the setup process. Plug one end of the ethernet cable into the robot vacuum’s port. Connect the other end to your router or modem. This will establish a stable internet connection for the vacuum.
Next, access the settings on your device and locate the wi-fi network option. Please provide your network information, including the SSID and password. This will allow the vacuum to connect wirelessly. Once you connect it, follow the instructions from the manufacturer to set up your shark (iLife) robot vacuum.
Next, you will know step by step – how to set up the Shrak robot vacuum.
How to Set Up Shark Robot Vacuum – Step-by-Step Setup Guide
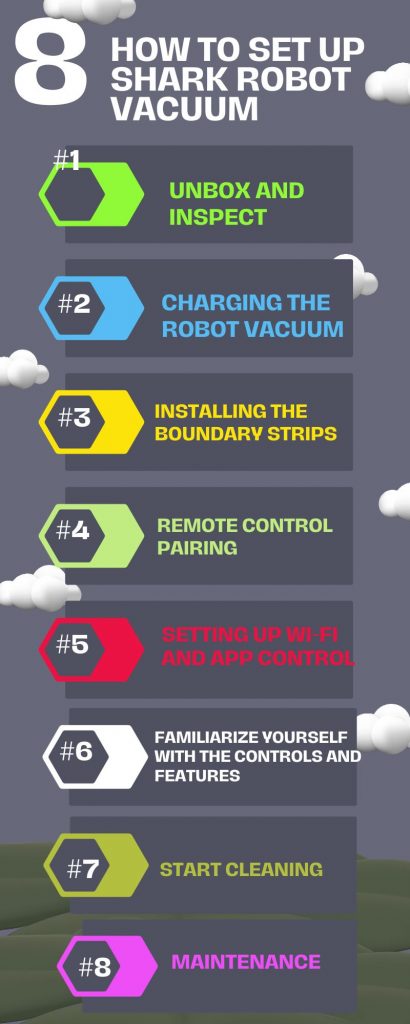
Below we are providing you easy 8 steps for set up a robot vacuum.
1. Unbox and Inspect
Carefully unbox your Shark robot vacuum and inspect all the components. Make sure everything is present and undamaged.
2. Charging the Robot Vacuum
Before using the robot vacuum, it’s essential to charge it fully.
Follow these steps to (how to )charge your Shark robot vacuum:
First, Place the charging dock on a flat, open area against a wall or in a corner, away from direct sunlight and obstacles.
Second, Connect the power adapter to the charging dock and plug it into a wall outlet.
Third, Place the robot vacuum on the charging dock, ensuring that the contacts on the bottom align with the contacts on the dock.
Lastly, The robot vacuum’s indicator light should turn on, indicating that it’s charging. Check the user manual for the recommended charging time, which may vary between models. Allow the vacuum to charge until the battery is fully charged.
Note: do you know why your robot vacuum is not working? if you don’t know see the link.
3. Installing the Boundary Strips (if applicable)
Some Shark robot vacuums come with boundary strips that allow you to create virtual barriers for the vacuum to avoid certain areas. If your model includes boundary strips and you want to set them up,
Follow 3 steps steps:
- Identify the areas you want the robot vacuum to avoid. These might include areas with fragile items, pet bowls, or specific rooms.
- Cut the boundary strips to the desired length using scissors. The strips typically have an adhesive back for easy installation.
- Place the boundary strips on the floor, creating a border around the areas you want to protect. Make sure they are firmly attached to the floor.
4. Remote Control Pairing
If your Shark robot vacuum has a remote control, you may need to pair it with the vacuum. Follow these steps to pair the remote:
- Insert the batteries into the remote control as per the instructions in the user manual.
- To start the robot vacuum, press the power button on the vacuum or the remote control.
- Press either the “Pair” or “Connect” button on the remote control. Hold it close to the robot vacuum until the pairing process is complete.
5. Setting up Wi-Fi and App Control (if applicable)
If your Shark robot vacuum has app control, you can connect it to your Wi-Fi network. Then, you can use a smartphone app to control it.
Follow 4 steps:
- Download the official Shark Clean app from the App Store ((IOS) or Google Play Store (Android).
- Create an account or sign in to your existing account on the Shark Clean app.
- Turn on the robot vacuum and put it into pairing mode. Refer to the user manual for the specific steps for your model.
- Open the Shark Clean app and follow the instructions to connect the vacuum to your Wi-Fi network.
Note: Do you know “how to work the Robot Vacuum Without WiFi? If you want to know, please look visit the link.
6. Familiarize Yourself with the Controls and Features
After charging and setting up your Shark robot vacuum, take a moment to get to know its controls and features. To figure out how the app or remote control works, check out the cleaning modes, scheduling options, and other features.
7. Start Cleaning
Now that your Shark robot vacuum is fully set up, you can begin cleaning your floors. You can start the cleaning process either through the app, using the remote control, or manually pressing the start button on the vacuum.
8. Maintenance
Regularly maintain your Shark robot vacuum to ensure optimal performance. Clean the dustbin, brush roll, and filters as instructed in the user manual. Also, periodically check for any obstacles that may interfere with the vacuum’s movement.
Congratulations! You have successfully set up your Shark robot vacuum, and now you can enjoy a cleaner and more convenient home.
Next, you will know some Common questions and answer and Answers.
Frequently Asked Questions For How To Set Up Shark Robot Vacuum?
What Are The Power Requirements For The Shark Robot Vacuum?
The Shark robot vacuum needs a regular electrical outlet with 120 volts and 60 hertz. It usually uses around 500 to 1000 watts of power.
How Long Does It Take To Fully Charge The Shark Robot Vacuum?
On average, it takes approximately 3-4 hours for the shark robot vacuum to fully charge.
Can I Use The Shark Robot Vacuum On Different Types Of Flooring?
Yes, the shark robot vacuum is designed to work on a variety of flooring types, including
Hardwood floor, and
Tile floor.
How Do I Clean And Maintain My Shark Robot Vacuum?
Regularly empty (shark robot vacuum) the dustbin to keep your shark robot vacuum clean and (running) working well. Clean the brushes and change the filters as necessary. If you don’t change, your robot vacuum will be lost automatically emptying.
Lastly, we are going to the Final thought.
Conclusion
We have 8 step-by-step instructions to make setting up your shark robot vacuum easier. To make vacuuming easier and save time, follow these simple instructions.
Before you start, ensure your robot vacuum is fully charged and the charging dock is ready. We’ve also included helpful tips to fix any problems during setup. To keep your shark robot vacuum working well and your home clean, follow these guidelines.
Feel free to enjoy the convenience and efficiency of this powerful cleaning device in your daily routine. Say goodbye to manual vacuuming and say hello to a freshly cleaned home, effortlessly.