To program a shark robot vacuum, simply follow the user manual instructions provided by the manufacturer. The manual has step-by-step instructions for programming your shark robot vacuum. It tells you how to set different cleaning schedules and settings.
It’s now easier to keep your home clean with smart technology, like the Shark robot vacuum. You can program your Shark robot vacuum to clean when and how you want. You can choose the cleaning modes and set boundaries for better cleaning.
The Shark robot vacuum is a smart and efficient cleaning device. It helps automate the tedious task of vacuuming your floors. Programming the Shark robot vacuum is essential to ensure that it operates according to your cleaning preferences and schedule.
We will guide you through the process of programming your shark robot vacuum, providing you with the information you need to get started.
Table of Contents
Understanding Shark Robot Vacuum Programming
Programming your shark robot vacuum is essential for maximizing its cleaning efficiency. To fully utilize this innovative device, understand its key features and benefits. You can use programming to make schedules and cleaning routines that fit your needs.
You can program it to clean certain areas at specific times. This ensures a thorough and efficient cleaning process. You can use programming to control where the shark robot vacuum cleans and avoid obstacles. Programming also offers advanced features like virtual boundaries and mapping.
Using programming, you can automate cleaning to save time and effort. Take some time to learn about the programming choices for your shark robot vacuum. This will improve your cleaning experience.
Step-by-Step Guide: How to Program a Shark Robot Vacuum
Let’s get started on unleashing the full potential of your Shark robot vacuum!
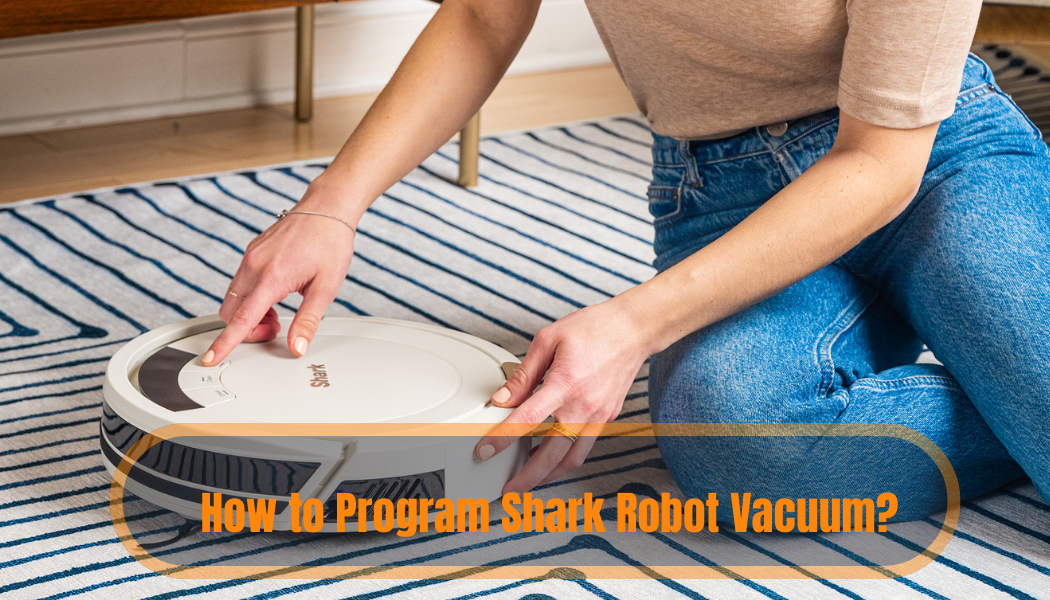
Step 1: Familiarize Yourself with the Shark Robot Vacuum
To start using your Shark robot vacuum, first get to know its features and controls. Shark robot vacuums usually have a control panel on the device or a mobile app.
- Control Panel (Physical): If your Shark robot vacuum has a control panel, it will have buttons or a touchscreen to use.
- Mobile App: Many Shark robot vacuums can be controlled and programmed through a mobile app. Download the Shark Clean app from the App Store or Google Play Store. Set up your robot vacuum within the app.
Step 2: Charging and Preparing the Robot Vacuum
Ensure that your Shark robot vacuum is fully charged before programming it. Place the charging dock in an easily accessible area with sufficient space around it. Follow these steps to prepare the robot vacuum for programming:
- Charge the Vacuum: Plug the charging dock into an outlet and make sure the robot vacuum is on it. Allow it to charge until the battery is full. Most Shark robot vacuums will have an indicator light to show the charging status.
- Clear Obstacles: Before you start programming, make sure to clear the cleaning area of any obstacles like cords, toys, or small objects. This will help the robot work smoothly.
Step 3: Setting the Time and Date
To make sure the robot vacuum cleans at the right times, set the time and date on the control panel or app. Follow the instructions in the user manual to adjust the time and date settings.
Step 4: Create a Cleaning Schedule
One of the most useful features of the Shark robot vacuum is its ability to create a cleaning schedule. The vacuum can clean by itself at set times and days, without needing any help. Follow these steps to program a cleaning schedule:
- Using the Control Panel: If your robot vacuum has a control panel, navigate through the settings menu to find the “Scheduling” option. From there, you can set the preferred cleaning days and times.
- Using the Mobile App: If you are using the Shark Clean app, open it and find the scheduling feature. You can set the cleaning days and times through the app’s intuitive interface.
Step 5: Select Cleaning Mode and Options
Shark robot vacuums offer different cleaning modes such as “Auto,” “Quick Clean,” or “Spot Clean.” You can also adjust the cleaning power and choose specific cleaning areas.
- Control Panel: Simply choose the cleaning mode and adjust the settings using the control panel.
- Mobile App: If you are using the mobile app, you can choose the cleaning mode and customize the settings from the app’s interface.
Step 6: Cleaning Preferences and Customization
Your model may have extra features and settings to customize the cleaning process. Some possible customization options include:
- Virtual Walls: Create virtual boundaries to restrict the vacuum’s cleaning area.
- No-Go Zones: Mark specific areas as off-limits for the robot vacuum.
- Multiple Floors: If your vacuum supports multi-floor cleaning, set preferences for each floor.
- Cleaning Maps: Some advanced models may offer cleaning maps to show where the vacuum has cleaned.
To customize your Shark robot vacuum, find the user manual for your model. Follow the instructions in the manual.
Step 7: Maintenance and Troubleshooting
To make sure your Shark robot vacuum works well, just follow the instructions in the user manual. Regularly clean the dustbin, filters, brushes, and sensors. If any problems come up, you can look in the user manual’s troubleshooting section for help. You can also ask Shark’s customer support for assistance.
You can program your Shark robot vacuum to keep your floors clean. It’s easy with these steps and guidelines. Experience the ease of a smart cleaning companion that keeps your home clean and tidy!
Advanced Features And Tips For Shark Robot Vacuum Programming
The Shark robot vacuum has advanced features. It also has many programming options to make cleaning more efficient. One cool thing is that you can make virtual boundaries, so you can clean specific areas. This is especially useful for high-traffic zones or delicate spaces.
Additionally, the integration with smart home systems allows for seamless automation. You can control the vacuum from your smart home hub. You can schedule cleanings and get notifications when the bin is full. This automation makes cleaning easier and keeps your home fresh and tidy.
Using shark robot vacuum programming allows for better cleaning and a hassle-free experience. It’s time to embrace the future of cleaning technology.
Frequently Asked Questions On How To Program Shark Robot Vacuum?
How Do I Program Shark Robot Vacuum?
To program your shark robot vacuum, you can use the mobile app or onboard controls.
Can I Schedule Cleaning Times With The Shark Robot Vacuum?
You can schedule when the shark robot vacuum cleans using the app or onboard controls.
What Features Does The Shark Robot Vacuum Offer For Programming?
The shark robot vacuum can be programmed to clean at specific times and adjust its cleaning modes. It also creates cleaning maps.
Is It Easy To Set Up A Cleaning Schedule With The Shark Robot Vacuum?
Setting up a cleaning schedule with the shark robot vacuum is easy. You can do it quickly using the mobile app or onboard controls.
Can I Adjust The Cleaning Schedule Of The Shark Robot Vacuum?
Certainly! You can change when your shark robot vacuum cleans to fit what you want.
Conclusion
In summary, programming your shark robot vacuum makes cleaning easier and more efficient. You can set up your vacuum to meet your cleaning needs by following the instructions from the manufacturer.
You can set a schedule for your shark robot vacuum to clean regularly. You can also turn on features like edge cleaning or spot cleaning. This allows you to customize its operation to suit your home. The shark robot vacuum has smart sensors and mapping tech to easily clean your space.
Spend time programming your robot vacuum to save time and have a cleaner home. Go ahead and use this modern convenience. Let your shark robot vacuum handle the dirty work.