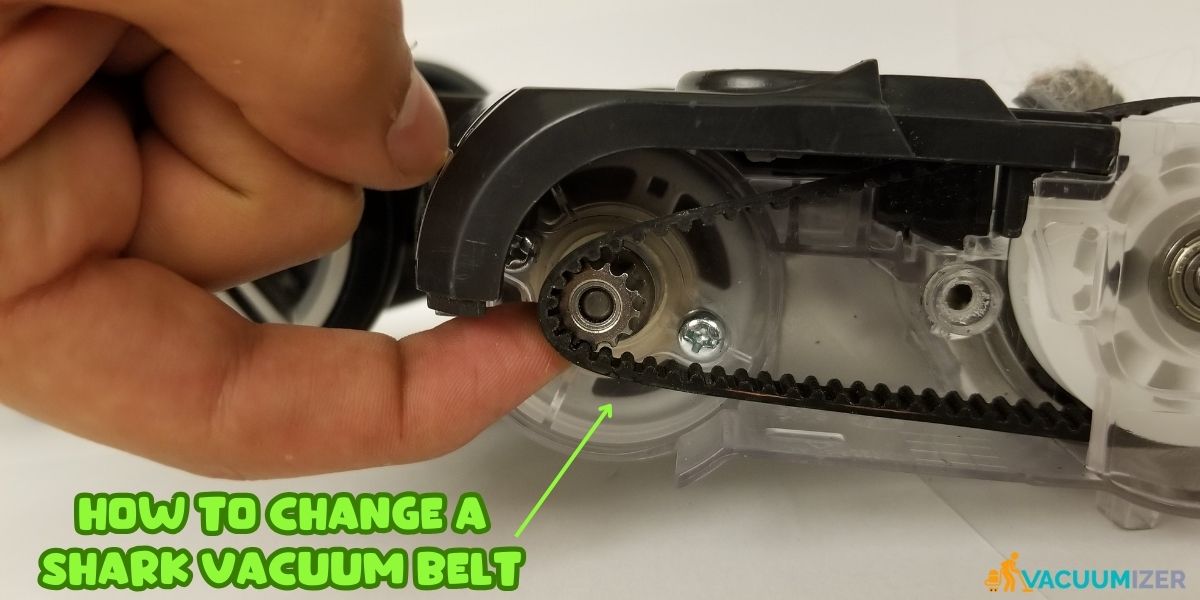
There is a belt in the floorhead of most Shark vacuum cleaners that keeps it running smoothly. You really enjoy using your Shark vacuum cleaner, but suddenly, the roller brush has stopped moving. It sounds different and doesn’t pick up dirt like it used to. Are you thinking, or are you sure your vacuum belt is broken? But you don’t know how to change it. The interesting thing is from today’s post on how to change the belt of the Cirque vacuum. So, let’s start!
First, we will know about some signs to replace the vacuum belt.
Table of Contents
7 Signs You Need to Replace Your Shark Vacuum Belt
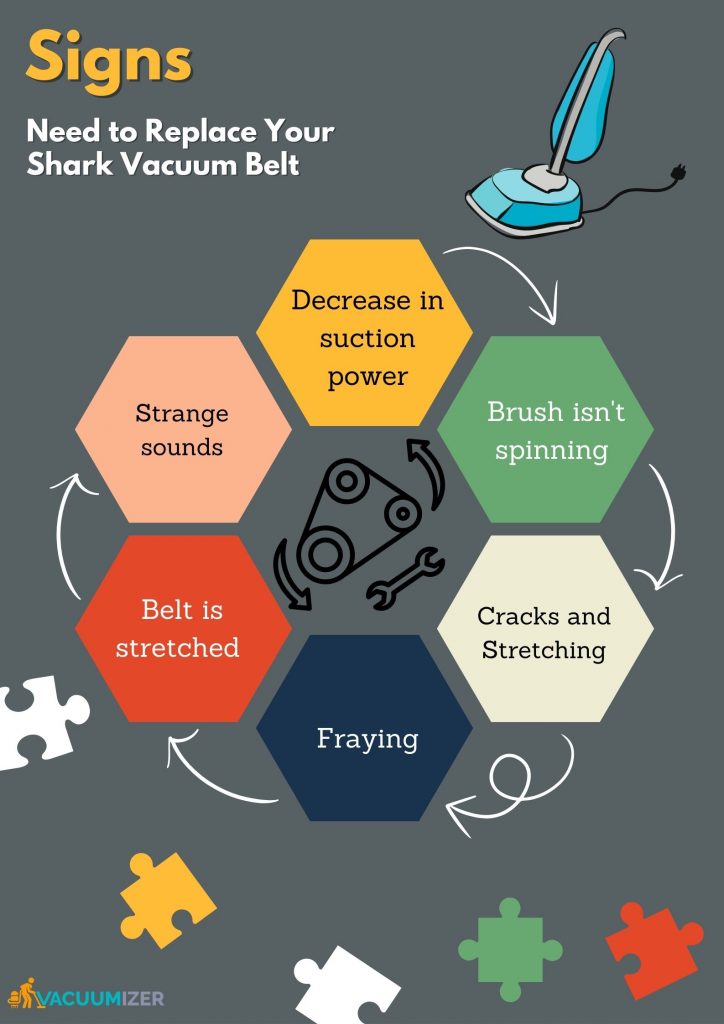
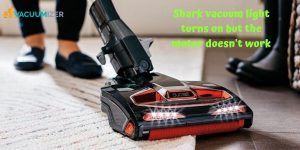
It is very important to know when to change the belt on a Shark vacuum. Several clear indicators suggest that it’s time to replace the belt. One of the most common signs is a noticeable decrease in suction power. Even on the highest setting, if your vacuum is having trouble picking up dirt and waste, it’s probably because the belt is free or broken. Strange sounds, like a high-pitched buzzing or grinding sound when the vacuum is going, can also be a sign. Most of the time, these noises happen when the belt is broken or slipping, which causes friction and noise.
Additionally, visually inspecting the belt for signs of wear and tear, such as:
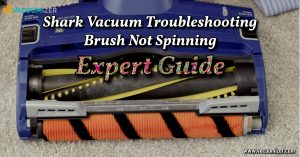
- The brush isn’t spinning
- The belt is stretched and no longer tight
- Fraying, or
- Cracks
- Stretching,
These provide a clear (light) indication that replacement is necessary. Recognizing these signs lets you maintain your vacuum’s efficiency and extend its lifespan.
The above discussion taught you the signs of shark vacuum belt resistance. If you ever notice these signs, replace the belt without delay.
Now, we will tell you how to change a vacuum belt.
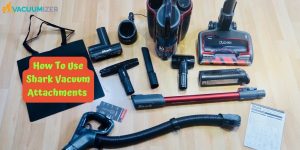
What Will You Need to Replace the Shark Vacuum Belt?
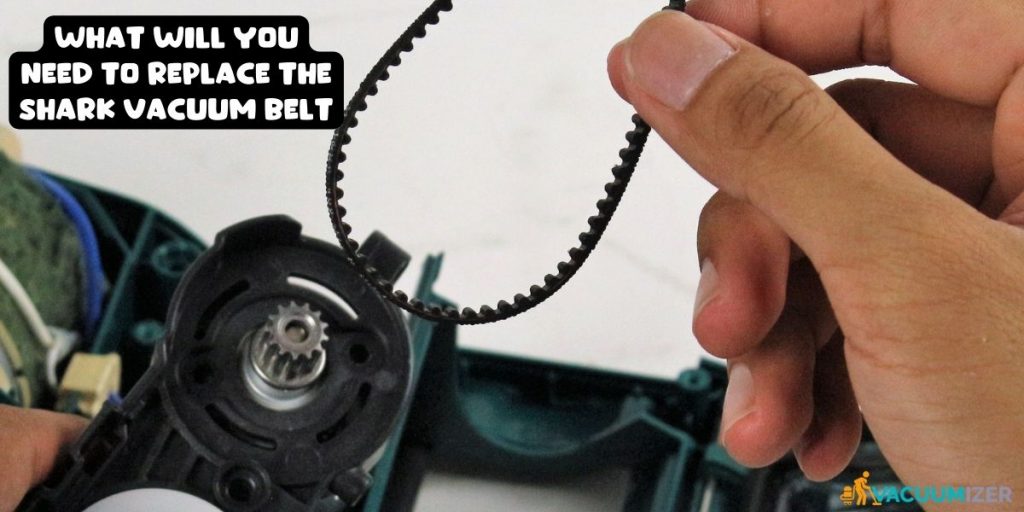
Below, we name six tools that you will need when replacing the vacuum belt
- A replacement Shark vacuum belt
- A screwdriver
- Scissors
- Work gloves
- Safety glasses
- A clean, well-lit work area
Let’s start to change the belt of your shark vacuum.
Step 1: Turn Off Your Shark Vacuum Cleaner
Before changing your shark vacuum belt, turn off the device and unplug the power line from the main power source. If you have a new model vacuum, take out any batteries that are in the case of portable or cordless units.
Step 2: Access the Brush Roll
Most Shark vacuums have a removable brush roll cover on the underside. This cover allows you to access the brush roll and, consequently, the belt. Locate the brush roll cover and use a screwdriver to remove it.
Read more: 5 Reasons Your Shark Vacuum Overheating – Know The Best Solution
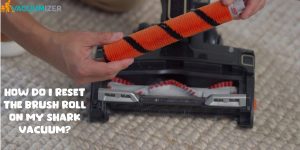
Step 3: Remove the Roller Brush
You’ll see the brush roll and the old belt after taking off the cover for the brush roll. Carefully take out the brush roll and remember where it was so you can put it back together. Next, take the old belt off from under the roller brush and put the new one in its place. If you need to, you can use some WD-40 to help. Don’t pull too hard when you take out the old belt, and keep the new one away from sharp things. If your hair is long, pull it back so the belt doesn’t get in the way.
Step 4: Clean the Vacuum Cleaner
It’s important to clean the vacuum’s parts well, including the brush roller, after taking off the worn-out belt. This essential step keeps dust and other things from building up in the drum or other places that could hurt the new belt while it moves. Clean your vacuum the right way to make it last longer and work better, making your home healthy and cleaner.
Step 5: Install the New Belt
Now, it’s time to install the new belt. First, wrap the new belt around the motor shaft and loop it around it. To keep it from slipping, ensure it’s in the right place on the motor shaft.
Step 6: Reattach the Brush Roll
After installing the new belt on the motor shaft, carefully slide the brush roll back into its original position. Ensure it’s properly aligned with the belt and that there’s no slack in the belt.
Step 7: Test the Vacuum and Reassemble
It’s time to test your vacuum with the new belt in place and the brush roll reattached. Plug it back in and turn it on to see if the brush roll is rotating correctly. Pay attention to any strange sounds or signs of friction. If the brush roll is rotating smoothly and there are no issues, you can proceed to reassemble the vacuum.
Secure the brush roll cover back in place, ensuring it’s aligned and that you use the screws you removed earlier. Set the cover back on top and all the screws again. Before you start the vacuum cleaner, ensure all its parts are in the right places.
Read more: How Do I Reset My Shark Vacuum – Easy 4 Steps
Step 8: Check for Proper Belt Tension
After reassembling the vacuum, check the tension of the belt. It should fit well, but not too well. Proper tension ensures the belt drives the brush roll effectively without causing excessive wear.
Following the steps above, you can install the belt on your vacuum.
So follow the important tips below to keep the belt in good condition.
Tips for Maintaining Shark Vacuum Cleaners
To help you keep your vacuum belt in great shape, here are some important tips:
Regular Inspection
Periodically, check the condition of the belt. It’s recommended to perform this inspection every three to six months. Look for signs of wear and tear, including;
- Fraying
- Stretching
- Cracks or
If you notice any damage, it’s best to replace the belt promptly.
Clean the Brush and Roll
It is essential to clean the brush roller often. You should clean the brush roll so dirt and dust don’t build up. This can hurt the belt. It’s possible to find a lot of hair from people and pets wrapped around the roller. Then, you need to take all the hair off the roller.
Clean the brush roll often with a paper towel or cloth soaked in warm water and mixed with cleaner or soap. Rub the roller with white vinegar and baking soda if something is stuck.
Use Genuine Parts
Always use genuine Shark replacement parts, including belts. Using non-authentic parts can cause compatibility issues and affect your vacuum’s performance.
Shark genuine accessories are available to purchase directly at “sharkclean.co.uk.
Lubricate Bearings
When changing the belt, apply a small amount of lubricant to the brush roll bearings. This can reduce friction and help prolong the life of both the bearings and the belt.
Maintain Filters
Proper maintenance extends beyond the belt. Regularly clean and replace filters every 2 to 3 months.
Empty the Dustbin
Keep the dustbin or canister empty to prevent debris from clogging the airways and causing unnecessary strain on the belt.
Inspect for Clogs
Check the airways and hoses for clogs or blockages. A blockage can increase strain on the belt and reduce overall vacuum efficiency.
After that, you will learn some FAQs.
FAQs on How to Change A Shark Vacuum Belt
Why Is the Brush on the Shark Vacuum Not Spinning?
A broken or worn-out belt is often to blame when your Shark vacuum brush won’t spin. It can also be caused by things getting stuck or clogged in the brush roll. Check the belt’s state and change it if it’s worn out. Also, ensure the brush roll is free of dirt or knots.
How Frequently Should I Change the Belt on My Shark?
For most Shark vacuums, it’s recommended to change the belt every 6 to 12 months. This could be different, though, depending on how often you use your cleaner and what kind it is.
Is it easy for beginners to change the belt on a Shark vacuum?
Yes, replacing the belt on a Shark vacuum is generally considered a straightforward task and suitable for beginners. Just follow our instructions and take safety precautions. You can find online tutorials or seek professional assistance if you’re unsure.
Related post: How Do I Reset My Shark Vacuum – Easy 4 Steps
Finally, we are going to the conclusion.
Final Thought
Knowing how to change a Shark vacuum belt is valuable for every Shark vacuum owner. Regular maintenance, including belt replacement, ensures your vacuum performs at its best. You can easily replace the belt by identifying the signs of a worn-out belt and following the step-by-step guide, Saving time and money. Safety precautions and genuine replacement parts are crucial for a successful belt replacement.
Write a comment if you have more questions about how to take care of your vacuum cleaner. We’d love to hear from you!

Hello, I’m Ethan Mitchell. I studied Geography and Environmental Management at the University of Florida. I want to share with you the light of my learning and the beautiful benefits of research. When it comes to cleanliness, the home comes first, so I started my journey out of a personal interest in keeping a house clean.